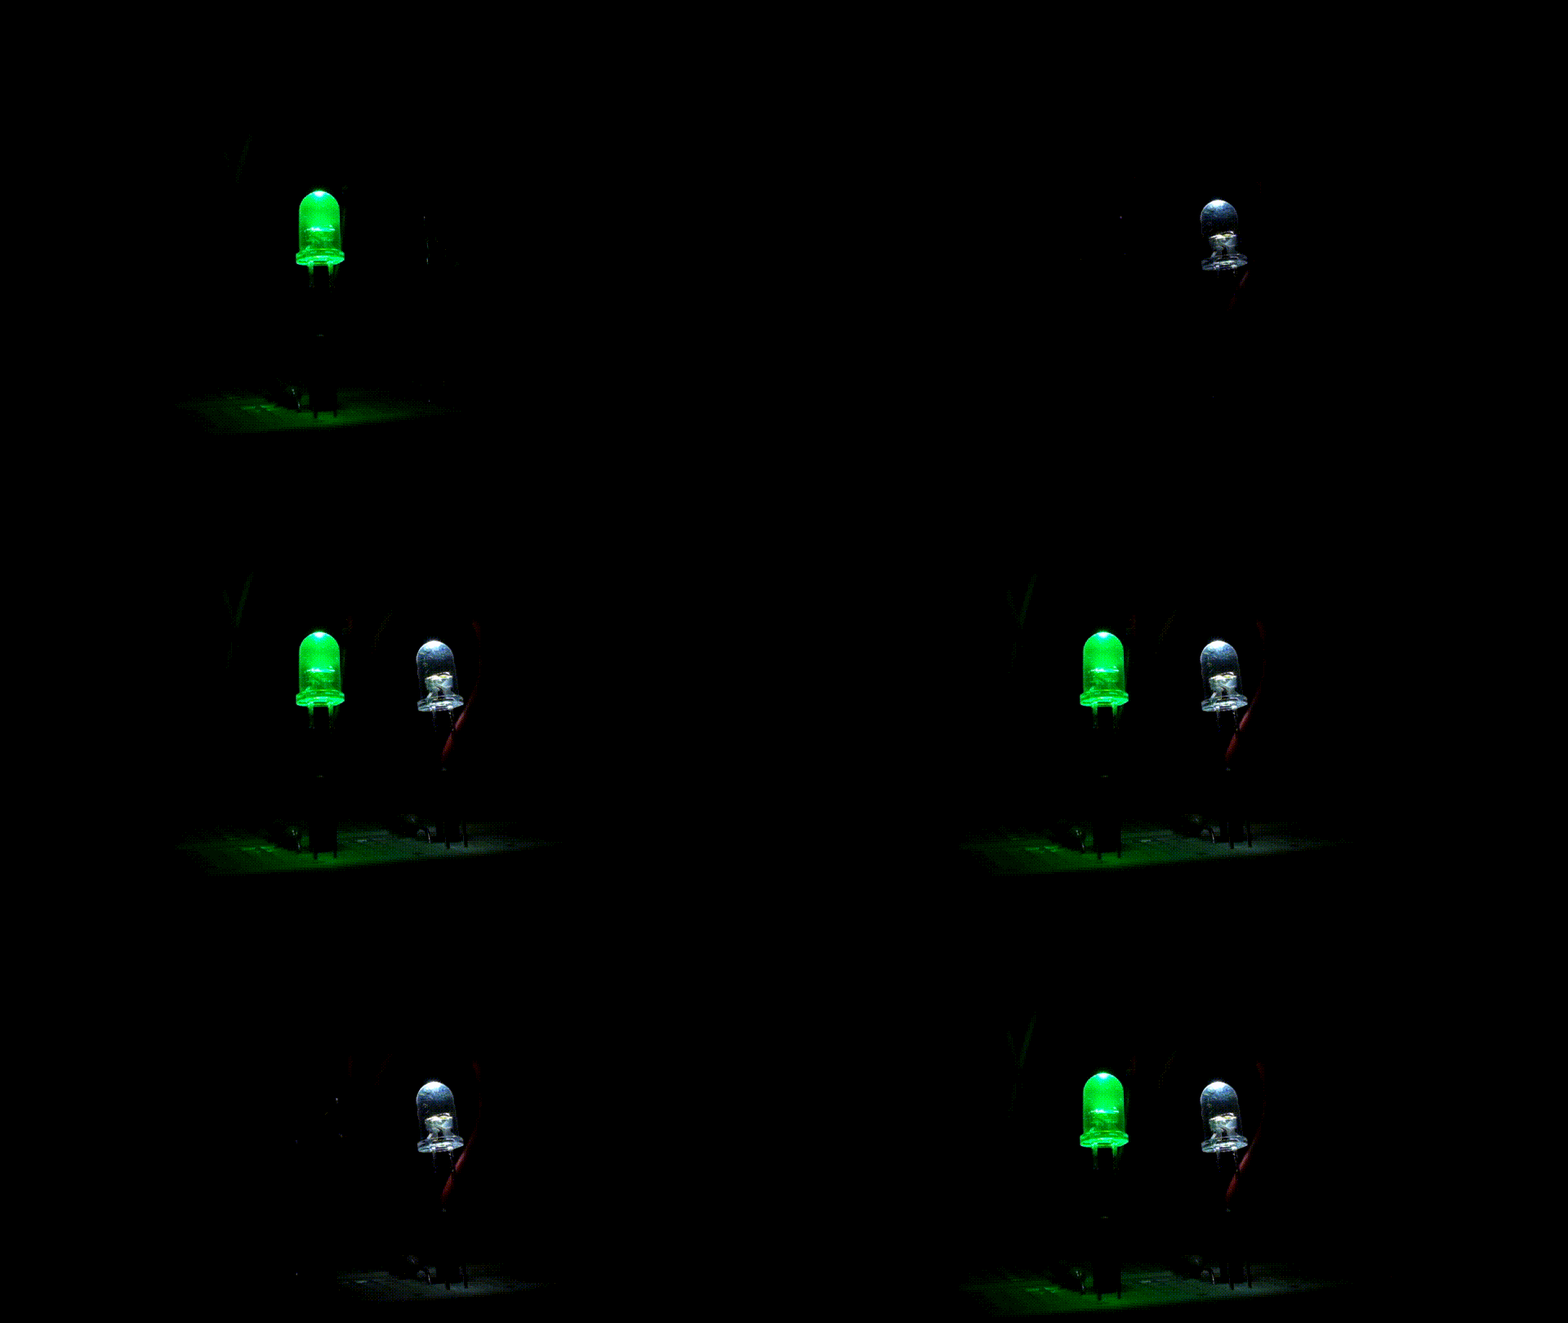
Beginner Arduino programs tend to focus on a single goal, such as blinking an LED or spinning a
servo, where the timing is controlled using delay; the famous blink sketch is a prime
example:
 1void setup() {
 2  pinMode(13, OUTPUT);
 3}
 4
 5void loop() {
 6  digitalWrite(13, HIGH);
 7  delay(1000);
 8  digitalWrite(13, LOW);
 9  delay(1000);
10}
This works well for single tasks like blinking an LED; however, delay prevents multiple tasks from
running concurrently. We can easily add another LED to the blink sketch and have it blink in time
with the existing LED:
 1void setup() {
 2  pinMode(13, OUTPUT);
 3  pinMode(12, OUTPUT);
 4}
 5
 6void loop() {
 7  digitalWrite(13, HIGH);
 8  digitalWrite(12, HIGH);
 9  delay(1000);
10  digitalWrite(13, LOW);
11  digitalWrite(12, LOW);
12  delay(1000);
13}
But if we want the LED’s to blink at different rates, where for example the first LED stays on for
three seconds and the second stays on for two seconds, we’ll find that delay
pauses the program, preventing other tasks from running.
Multitasking with millis
millis returns the number of milliseconds since the Arduino board began running the current
program. When the LED is switched on, the current time returned by millis should be saved. As the
program runs, the difference between the time that the LED was switch on and the current time is
compared to a predefined interval; once the interval has passed, the LED can be switched off. Below
is the official BlinkWithDelay sketch which demonstrates this.
 1const int ledPin =  13;
 2int ledState = LOW;
 3
 4unsigned long previousMillis = 0;
 5const long interval = 1000;
 6
 7void setup() {
 8  pinMode(ledPin, OUTPUT);
 9}
10
11void loop() {
12  // check to see if it's time to blink the LED; that is, if the
13  // difference between the current time and last time you blinked
14  // the LED is bigger than the interval at which you want to
15  // blink the LED.
16  unsigned long currentMillis = millis();
17
18  if (currentMillis - previousMillis >= interval) {
19    // save the last time you blinked the LED
20    previousMillis = currentMillis;
21
22    // if the LED is off turn it on and vice-versa:
23    if (ledState == LOW) {
24      ledState = HIGH;
25    } else {
26      ledState = LOW;
27    }
28
29    digitalWrite(ledPin, ledState);
30  }
31}
Whilst this works well for blinking a single LED, keeping track of the timing and states for multiple tasks is convoluted.
Using finite state machines
A finite state machine is a model of computation that encapsulates the states a machine can be in and how the machine transitions from one state to another; the machine can only be in one state at a time.
If we imagine each task in our program as a state machine, we can have the machine manage the transitions for us. In our program to blink two LED’s, we’d have two state machines, each with two states: one for when the LED is on, and the other for when it’s off.
arduino-fsm includes timed transitions so you don’t need to manage the timing yourself. Below
is the code for blinking two LED’s at different rates using arduino-fsm and the
add_timed_transition method.
 1#include <Fsm.h>
 2
 3#define LED1_PIN 10
 4#define LED2_PIN 11
 5
 6void on_led1_on_enter() {
 7    digitalWrite(LED1_PIN, HIGH);
 8}
 9
10void on_led1_off_enter() {
11    digitalWrite(LED1_PIN, LOW);
12}
13
14void on_led2_on_enter() {
15    digitalWrite(LED2_PIN, HIGH);
16}
17
18void on_led2_off_enter() {
19    digitalWrite(LED2_PIN, LOW);
20}
21
22State state_led1_on(&on_led1_on_enter, NULL);
23State state_led1_off(&on_led1_off_enter, NULL);
24
25State state_led2_on(&on_led2_on_enter, NULL);
26State state_led2_off(&on_led2_off_enter, NULL);
27
28Fsm fsm_led1(&state_led1_off);
29Fsm fsm_led2(&state_led2_off);
30
31void setup() {
32    pinMode(LED1_PIN, OUTPUT);
33    pinMode(LED2_PIN, OUTPUT);
34
35    fsm_led1.add_timed_transition(&state_led1_off, &state_led1_on, 1000, NULL);
36    fsm_led1.add_timed_transition(&state_led1_on, &state_led1_off, 3000, NULL);
37    fsm_led2.add_timed_transition(&state_led2_off, &state_led2_on, 1000, NULL);
38    fsm_led2.add_timed_transition(&state_led2_on, &state_led2_off, 2000, NULL);
39}
40
41void loop() {
42    fsm_led1.check_timer();
43    fsm_led2.check_timer();
44}
In the example, there are two state machines: one for each LED. The following timed transitions are added:
- A transition from LED1 off to LED1 on after 1 second has passed;
- A transition from LED1 on to LED1 off after 3 seconds has passed;
- A transition from LED2 off to LED2 on after 1 second has passed;
- A transition from LED2 on to LED2 off after 2 seconds has passed;
Both state machines begin in the LED off state. The loop calls the check_timer
function on each state machine, which checks all timed transitions. If the interval has been
reached, the transition is performed.

For more information about the arduino-fsm library check out the GithHub project page.